Adding Bluetooth to a Megasquirt 3 Basic
This weekend a friend of mine asked if I could add Bluetooth to his Megasquirt 3 for his Mazda MX-5 so he would need to use a cable for tuning. It is an MS-Labs MS3 Basic Plug and Play (PNP) unit which he bought pre-build and of course I am up for a challenge.
Important notice: I am not an expert at all and electronics is just a hobby, I am not a electronics engineer by trade or anything. So keep this in mind when you try this yourself, feel free to use this post as a guideline but nothing more then that

Required hardware
For this mod to succeed you need the following:
- Of course a Megasquirt ECU unit (the principle caries over to other brands that use the MS3 daugherboard)
- A HC-05 Bluetooth module, I bought mine from Aliexpress for €2,50
- 4 female jumper wires
- Toggle switch (optional)
Also soldering iron, some solder and soldering skills are a requirement. I used my trusty TS100 soldering iron with the TS-B2 tip. But any soldering iron with a tip not that big and enough wattage will do, as long as you are comfortable with it.
Setting up the HC-05
The HC-05 Bluetooth module needs some configuration before it will work with the MS3 ECU. The MS3 ECU communicates at a baudrate of 115200 so we need to set that for it to even work. I also set a descriptive name to broadcast along with a password so the ECU is properly secured for outsiders.
I connected it to my CP2104 USB->TTL adapter (sidenote, always choose CP2104 over the cheaper CH340 chipset! Driver issues are non-existing for the CP2104). Here a nice drawing showing the connections, fairly straightforward just cross TX to RX and RX to TX like every serial connection:
These commands requires picocom newer then 3.0.0 otherwise it is missing the -qrx option.
First we setup the broadcast name ‘Megasquirt 3’, the the password and at last the baudrate for communication with the MS3. Be aware that Windows has no issues with using a password for Bluetooth connections, Ubuntu assumes a four digit pin and requires a lot of hassle to setup a password. If I were you I would keep the password four digits, just to be sure.
Now the HC-05 is ready to go.
Connecting on the MS3 daughterboard
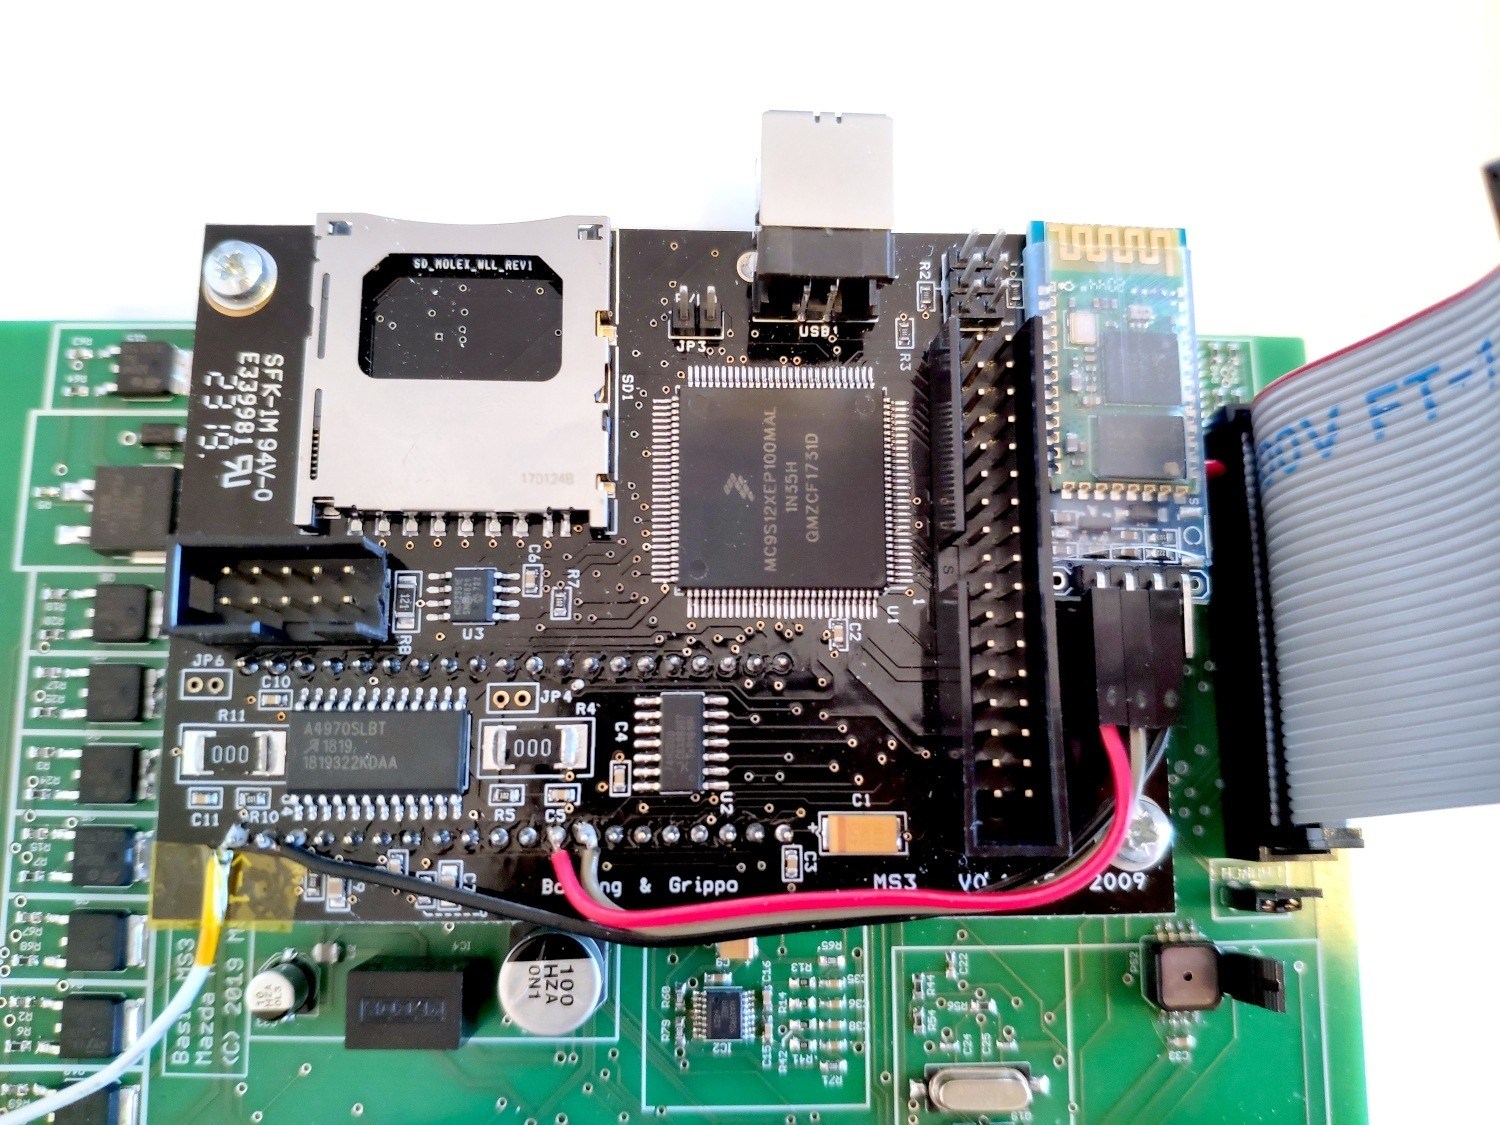
To find out where to connect the Bluetooth chip I started probing the board with my multimeter in resistance mode to find where I could find 5V, GND and the serial TX/RX to the MS3. I found out that pin 1 is VCC, pin 2 is GND, pin 12 is TX and pin 13 is RX. So just like connecting the HC-05 to the USB serial just cross TX and RX and connect the power/ground. To be able to keep using the serial connector I wired in a switch to poweroff the HC-05 when needed.
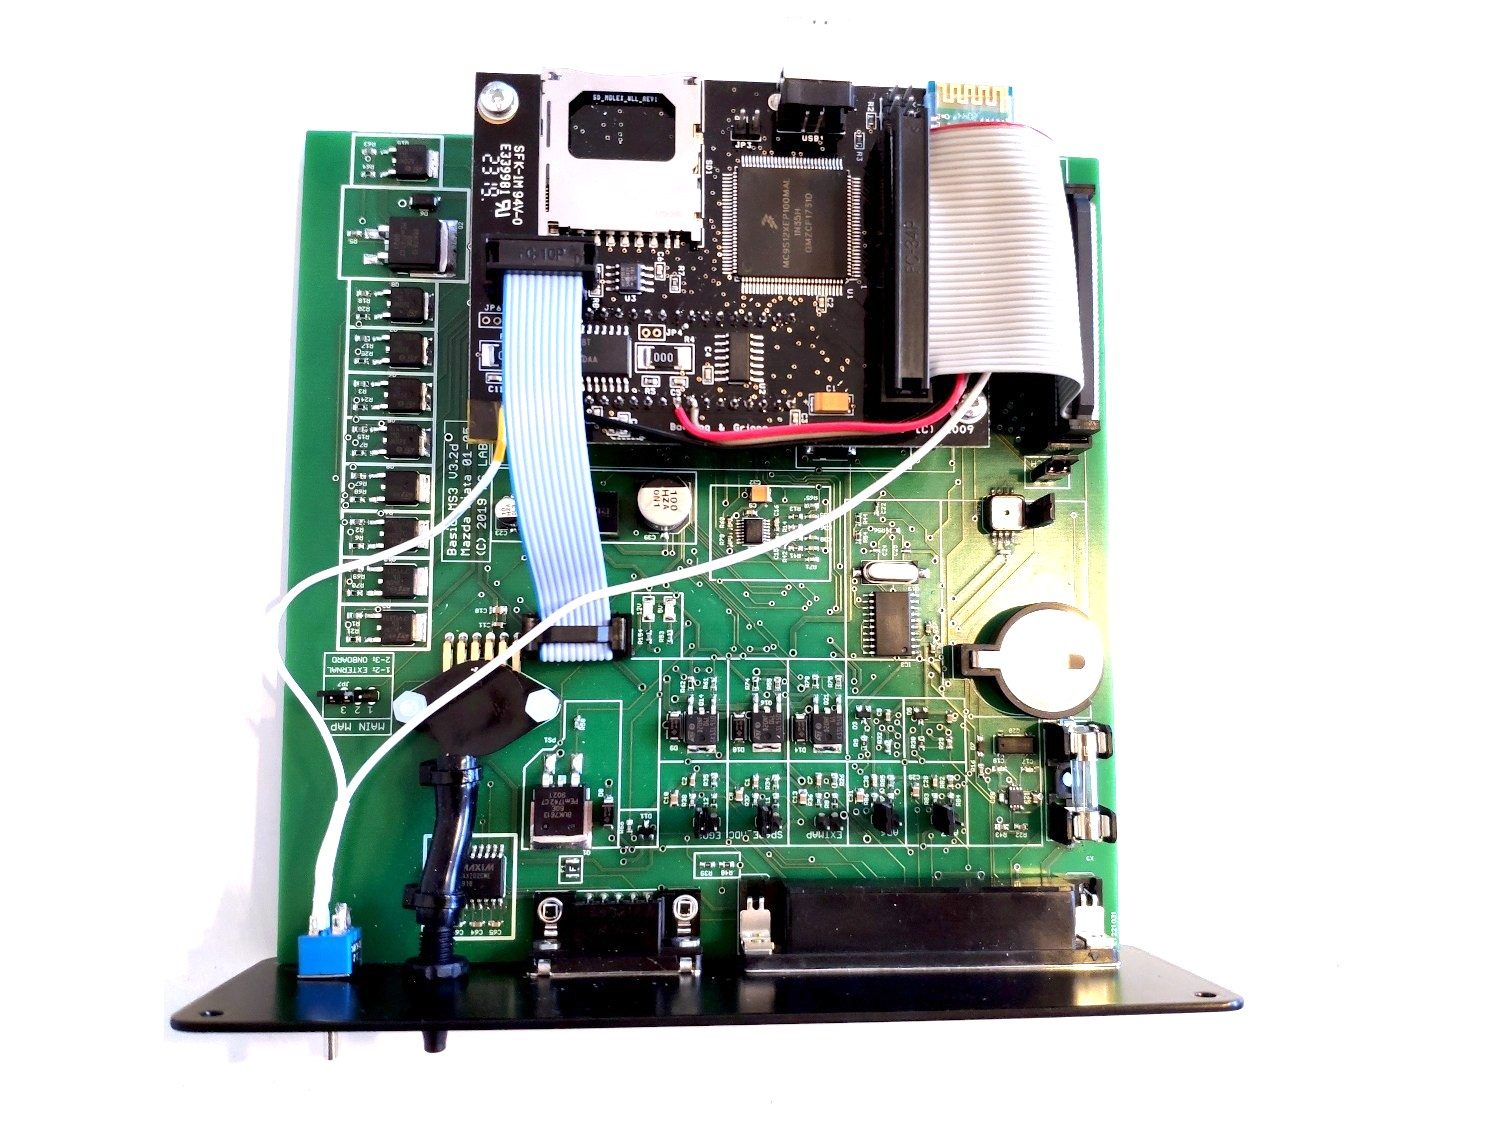
I found a nice place to mount the HC-05 on the daugherboard under the 40-pin IDC cable. I attached the bluetooth adapter with double sided tape to the PCB. I cut the jumper wires to length, tinned them and soldered them onto the daughterboard. I choose a white wire for VCC, black for GND and red and dark green for the serial. I added some heatshrink onto the wires soldered to the toggle switch and finally some kapton tape on the PCB for the VCC wire to the switch for some strain relief.
Working end result, tuning over Bluetooth
This resulted in the following final assembly.


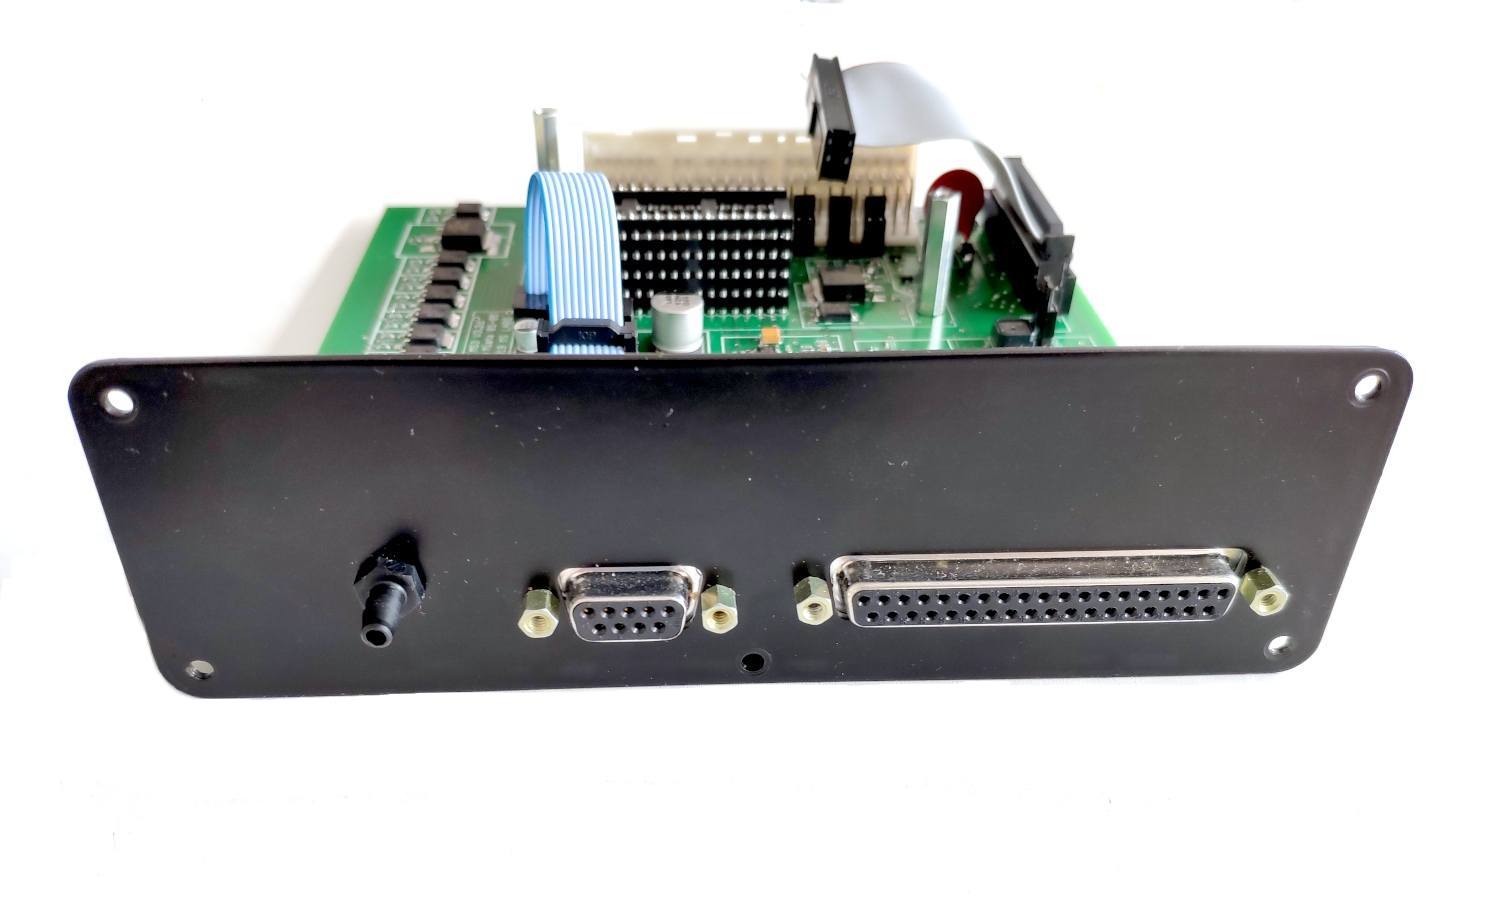
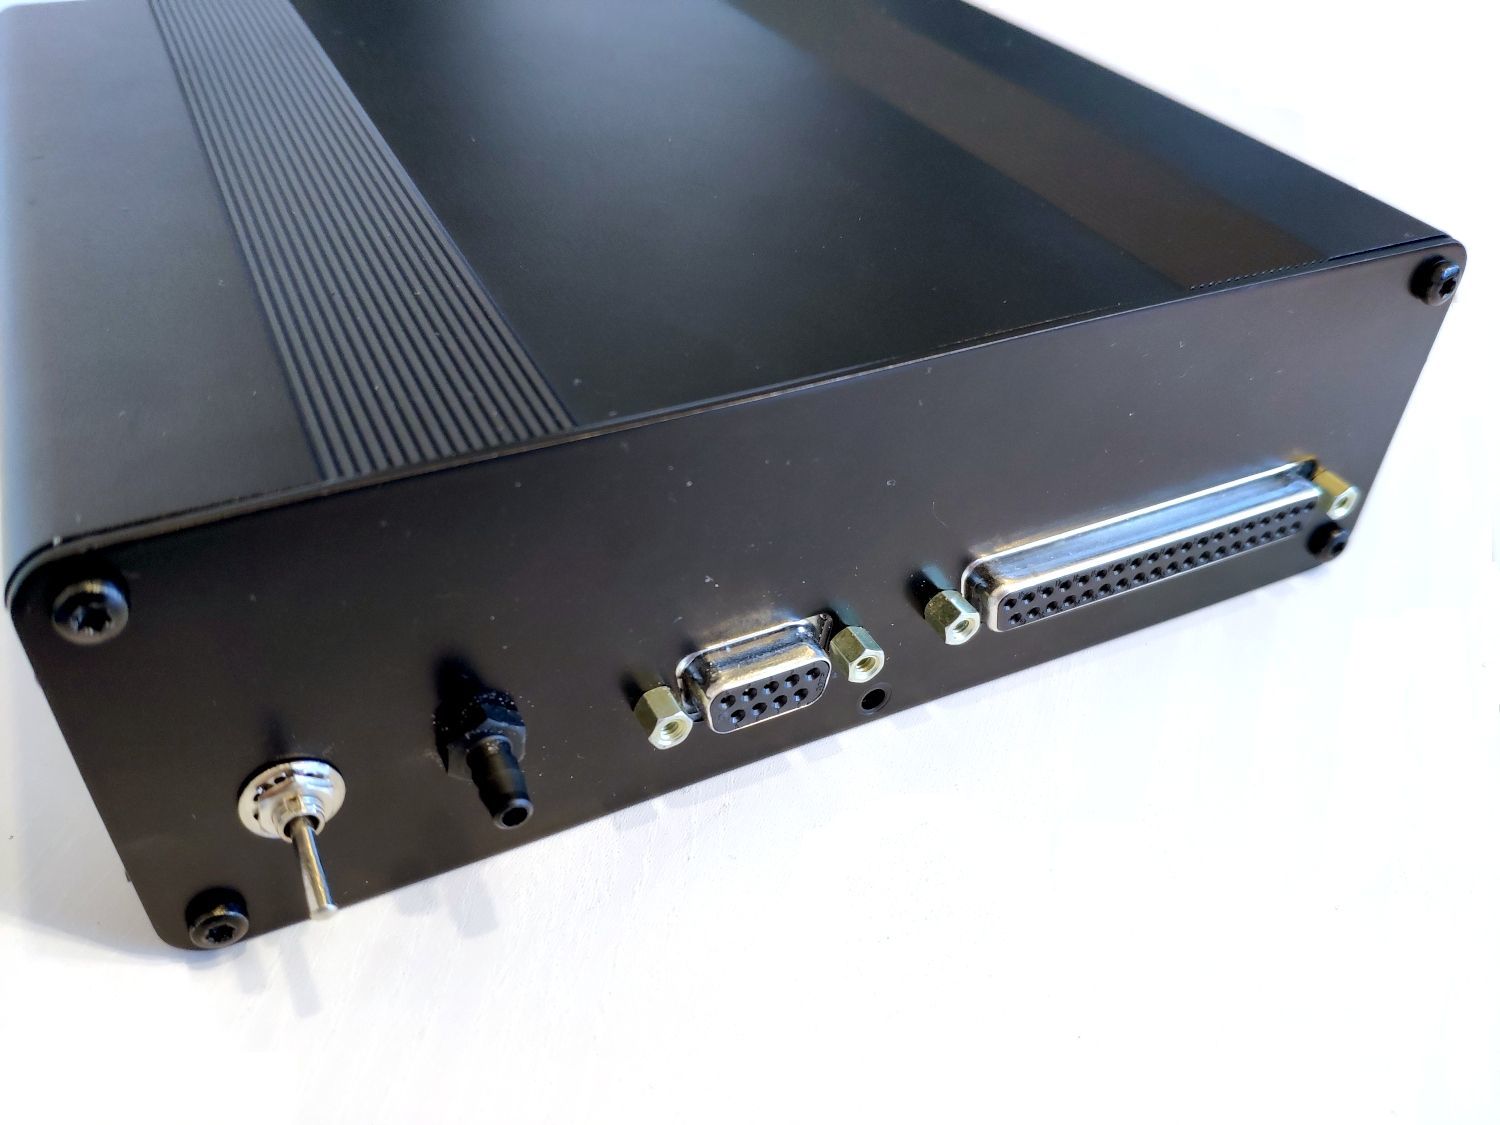
Then it was time to mount the toggle switch somewhere. I choose a nice place on the front I/O panel, next to the MAP sensor hose connector and drilled a hole. And this was the end result.

So then it came to mount the ECU in the car and test if TunerStudio would connect. And low and behold, everything worked like it should! We could connect and upload tunes over Bluetooth.
Again take this blogpost as a guideline, I am no expert. Keep using common sense and modifiying expensive new parts ;)